
Replace a windscreen
with TEROSON® BOND 60 True Primerless
Americas
Asia-Pacific
Europe
South Asia, Middle East & Africa
A windscreen is a very important component with respect to the overall structure of the car body. It improves structural stiffness and provides protection of the passengers. The windscreen adhesive used in the replacement is the only means of holding the windscreen to the car body.
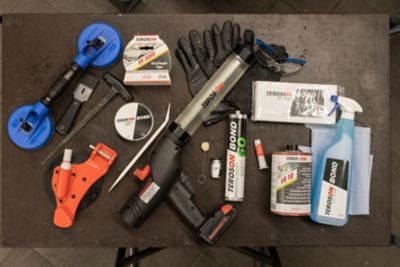
In our repair shown we will be using TEROSON® BOND 60 True Primerless with a safe drive-away time according to FMVSS 212/208 and Henkel New Crash Standard of only 1 hour. It is cold applied, without primer and offers best-in-class workability and performance characteristics - saving you one step.
All repair and maintenance tasks shown should be done by professionals only. Please do not try this at home or if not qualified by professional education. Always follow car manufacturer's instructions.
Limitation of liability
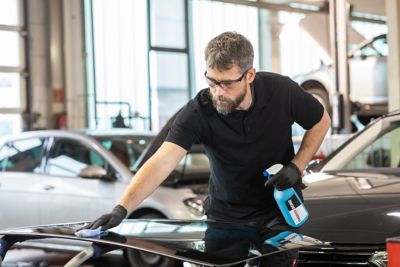
Unpack the new windscreen. To remove dirt and grime, clean it from both sides using a professional cleaner such as TEROSON® BOND Glass Cleaner.

Check the new windscreen for damages or scratches and make sure it fits.
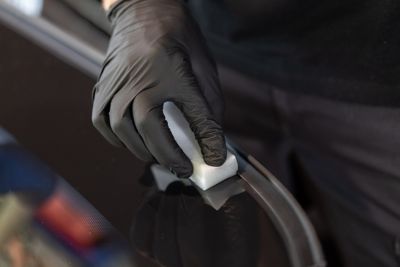
Abrade the bondline with the TEROSON® BOND Sponge.
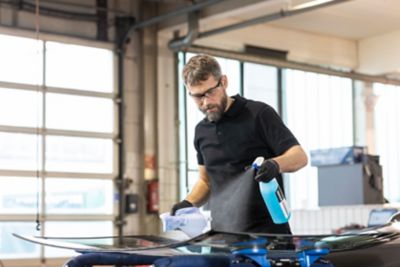
Apply the TEROSON® BOND Glass Cleaner again and dry off the bondline in one direction using a lint-free cloth.

Remove the attachments from the car and cut out the windscreen. Using the TEROSON® BOND Easy Cut makes it especially easy.

Remove all dirt from the frame using TEROSON® BOND Glass Cleaner and a lint-free cloth. Then evenly trim back the remaining bead. Cover paint damages with primer if needed.
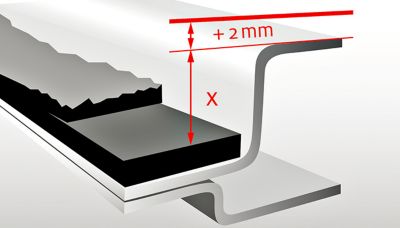

Determine bead height in roof area. Where the roof is the same height as the pane, adjust the applicator nozzle to the correct height: final bead height = flange height (x) plus 2 mm.
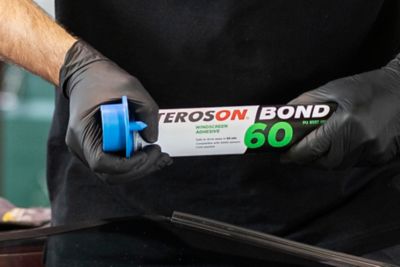
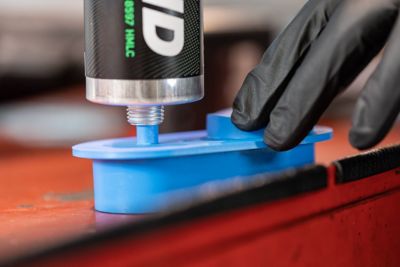
Remove its bottom lid and pierce the top membrane to open the cartridge beforehand. Insert into application gun.

For best results, move the nozzle at a right angle to the horizontally positioned screen. It is recommended that the cartridge content is extruded evenly in one pass.
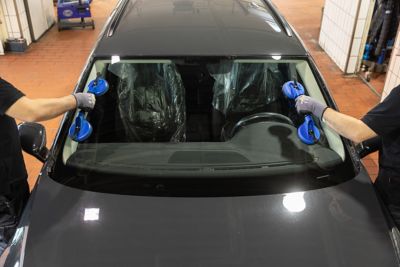
Carefully insert the new windscreen into the body frame. Use TEROSON® VR 5080 fix & repair tape to secure the correct positioning temporarily. Install attachments.

Be sure to observe the Safe Drive-Away Time. For TEROSON® BOND 60 True Primerless it is 60 minutes. After this time it is ensured that the vehicle meets the FMVSS requirements.

Make sure that all driving assistance systems are calibrated. Follow the car manufacturer’s instructions for re-calibration of the safety systems.
TEROSON® BOND 60 True Primerless windscreen adhesive is designed to meet not only the requirements FMVSS crash standards (212/208), but also the much stricter Henkel requirements. This means that safe windscreen adhesion is guaranteed even in a 40% overlap collision at a speed of 64 km/h.
Limitation of Liability
The information provided herein, especially recommendations for the usage and the application of our products, is based upon our knowledge and experience. Due to different materials used as well as to varying working conditions beyond our control we strictly recommend to carry out intensive trials to test the suitability of our products with regard to the required processes and applications. We do not accept any liability with regard to the above information or with regard to any written or verbal recommendation, except if otherwise explicitly agreed and except in relation to death or personal injury caused by Henkel´s gross negligence or intention and any liability under any applicable mandatory product liability law. Please note that the information provided by us may not be current, complete and correct. It is not intended to serve as legal advice. Each user is solely responsible for assessing and ensuring compliance with any applicable law. The information is protected by copyright. In particular, any reproductions, adaptations, translations, storage and processing in other media, including storage or processing by electronic means, enjoy copyright protection. Any exploitation in whole or in part thereof shall require the prior written consent of Henkel Corporation. Except as otherwise noted, all marks used in this sell sheet are trademarks and/or registered trademarks of Henkel and/or its affiliates.